Social Icons

Showing posts with label pocket letters. Show all posts

Thursday, May 28, 2015

How To: Make Spiral Paper Flower Clips

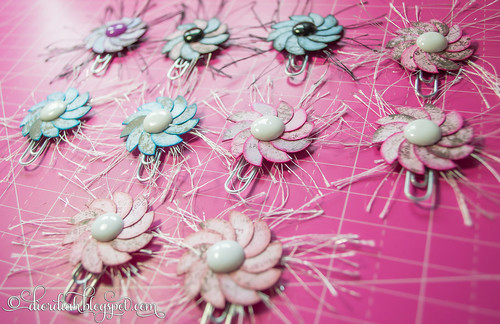
I made another video tutorial! This time, about how to make little spiral paper flowers! You can put them on paper clips like I did, magnets, pins for bulletin boards, or just leave them as is for paper embellishing.

Spiral Paper Flower Clips

I am so happy with how these came out! I will admit, however, to film this, it took the better half of an entire day. I messed up a few times, had several false starts, and then filmed the whole thing, to find that it stopped only 13 minutes in. Let us not even mention the battery in the camera had died as well. So, yes, the enamel dot fell off in this tutorial, and I was able to put it back on. I was so exhausted from spending all day working on this video, that I just let it go. Hah. That being said, please pretend that the video is perfect, and the enamel dot did not fall off on me.


I hope you enjoy the tutorial! As always, If you have any questions or comments about the video, let me know and I will try to answer them as best I can. Also, if you would like to see more videos from me, be sure to subscribe to my channel on YouTube!

Thursday, May 21, 2015

How To: Make DIY Enamel Dots

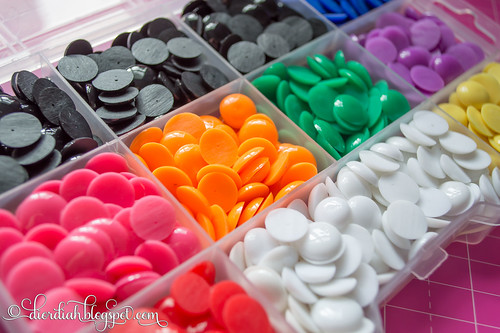
With my paper clip tutorial videos I have been doing lately, I seem to get quite a few questions on one thing: how do I make my enamel dots. I love my enamel dots, I use them on everything I can. They hide joins, hot glue messes, and they even just look adorable sitting on paper. I can't get enough of them. Unfortunately, with how many I use (and making paper clip art in bulk), buying them name brand would cost me a small fortune. My husband already makes fun of me about how much money goes into my crafting hobby, so if I can make them for cheap at home, no doubt I will be trying it!

DIY Enamel Dots

I came across several videos of how to make enamel dots online, and made a ton of them! I bought a small tub of them from our local Walmart, and spent the weekend melting them down a few months ago. So, because I had been questions about how I made them, I created my own how to video, in case it helps someone out there!


As usual, If you have any questions, or comments about the video, let me know, I will try to answer them as best I can. Also, if you would like to see more videos from me, be sure to subscribe to my channel on YouTube!

Friday, May 8, 2015

How To: Make Paper Bow Paper Clips

A quick post today, and another video tutorial! I am really making an attempt to get better with talking on my camera, trying to gain confidence, and make better video. I am also trying to work on getting more familiar with Adobe Premiere, and trying to learn how to edit videos properly. That being said, I have been making quite a few short tutorials on how I made small objects (like paper clips). I think I am getting better!

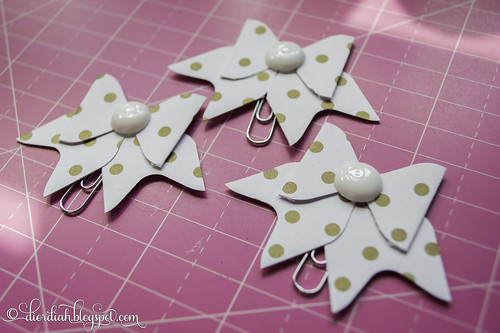
So, the other night, I was making little matching paper bows with my envelope punch board to go into my latest Pocket Letters. I had a bunch of shorter scrap paper, that was just too short to make a second bow. I had the idea to make a smaller bow, and put it on a paper clip!

Paper Bow Paper Clips

They were such a success and I absolutely adore them. I wanted to share the measurements that I used on the bows, so I made a little tutorial on how to create them.

Lately, I have found that I have so many tools given to me to be as creative as I can be. Luckily, I have family who is just as into crafts as I am, and many of my tools are gifted to me. I feel so lucky to have many blessings (for lack of a better word), in my life. A husband who supports my crafting in whatever I want to do, a family who will gift me with whatever they do not want, and wonderful crafty booths in my local thrift stores. With all these things that I have now, I finally feel like I can have a successful creative outlet. So, many more tutorials from me will be happening!


As usual, If you have any questions, or comments about the video, let me know, I will try to answer them as best I can. Also, if you would like to see more videos from me, be sure to subscribe to my channel on YouTube!

Wednesday, May 6, 2015

How To: Make Pinwheel Paper Clips

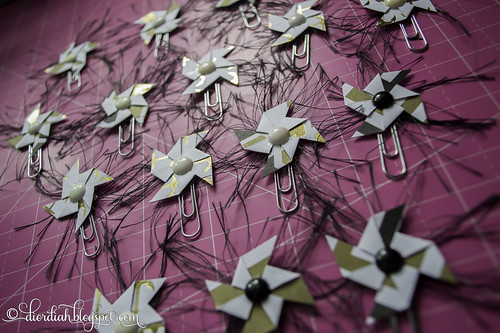
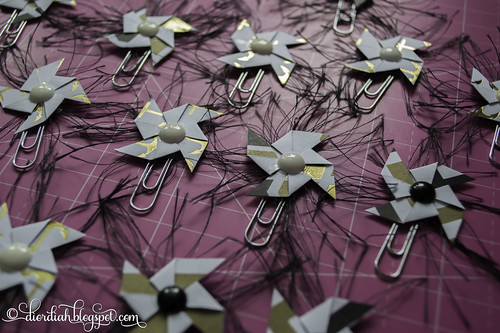
A couple nights ago, I was making some embellishments for my pocket letters. I had scrap paper, and had decided to make little pinwheels. Once I finished, something just didn't look right with them. They did not pop off of the background like I intended, and to me - they just looked kind of bland. They blended in, and I wanted them to pop.

I resorted to the one thing in my craft stash that always makes any embellishment 150% more awesome: fun fur! Seriously, I love this stuff and I find some way to use it with everything that needs a little something extra. I have it in a variety of colors, and the best thing is that it lasts forever! It was perfect for this project.

Pinwheel Paper Clips - 01

I made a bunch of them that night. I am working on six similar pocket letters at a time, and needed them all to match the pockets. I used scraps from the paper I used for the letter, and you do not need much of it! Just an inch square to make this size!

Pinwheel Paper Clips - 02

Gah, I love them so much! It's not all the time that I do something genuinely creative, but when I do... I am pleased with myself for weeks afterward. Haha!

In fact, I was so pleased with them and happy that they turned out successfully, I made a little tutorial on how I made them.


As usual, If you have any questions, or comments about the video, let me know, I will try to answer them as best I can. Also, if you would like to see more videos from me, be sure to subscribe to my channel on YouTube!

Monday, April 13, 2015

How To: Make Layered Lace Flowers

As those who read my blog know, I am huge on the thrift store shopping. A lot of my crafting supplies are either given to me, or bought from thrift stores. I am particularly fond of vintage sheet music and lace trims. That being said, I have accumulated quite a bit, that I have not even used. My husband was beginning to call me a hoarder, and I can't have that! I sat out to make use of some of my crafting products.

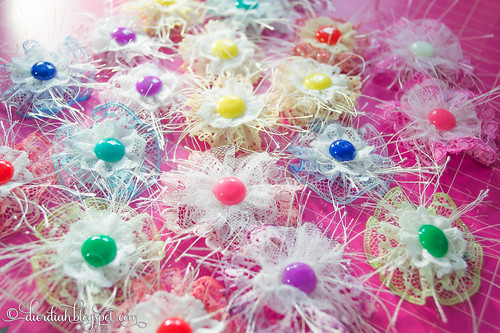
Layered Lace Flowers

I made a bunch of what I call Layered Lace Flowers! They all turned absolutely gorgeous, I am floored at how awesome each one turned out. Usually, things look better in my head than they do in real life, so the fact that these turned out the way they did is incredible. However, when I think about how I made them, I realize that each one took quite a bit of time. I ended up making these over a course of several days, really. I measured, cut and sewn up each one while leisurely sitting on the couch, watching television. Next was coloring all of them, which required time to dry again. Then all the hot gluing. But it was all worth it!

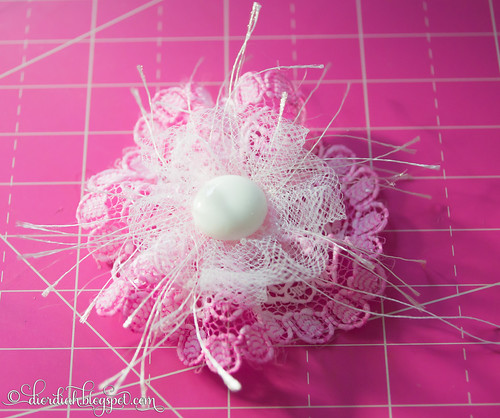
Close Up 1 Of Layered Lace Flowers

I simply ADORE how this one came out. I made them in all shapes, sizes, and colors, but some reason, this one is my absolute favorite. I love the way the pink looks, the tulle, size. Pretty much everything.

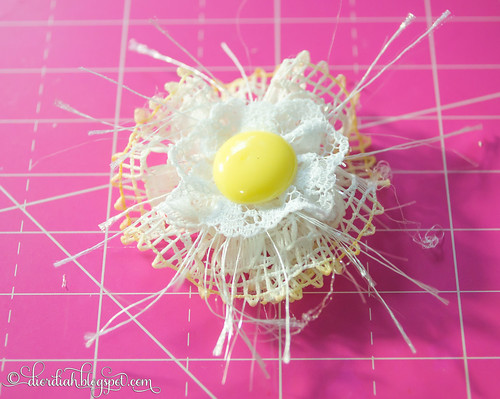
Close Up 2 Of Layered Lace Flowers

I was surprised at how much I found I like this one, too. The other one I could justify, because it is pink, and I love the tulle look. But this one, I did not think it would be my style. But no! It looks like a little circle of happy!


I actually did a tutorial on how I made them! The camera kept focusing every time I moved, though, so you might not like the tutorial if that bothers you. (I learned to take pictures with it, not video - so I am trying to learn video now). If you enjoyed the video, please subscribe to my channel!

Enjoy, and I hope the video inspires you to make your own in some form!

Friday, April 3, 2015

First Pocket Letter

With smashbooks, junk journals, my dog, and gardening, one would think I have enough hobbies, right? Well apparently not, because I just picked up yet another craft! There is a new thing going around, called Pocket Letters! I have been hit hard by this craft, as I adore it! I can really get my creativity going with these pocket letters, as they are small, and much easier to commit to, than say, a junk journal or something similar. I have mentioned before in this blog that I really enjoy having the instant gratification feeling, and these can be punched out in a couple of hours, using all my existing supplies.

Basically, a pocket letter is paper, divided up into a trading card protector, and decorated. You can decorate them however you like, add whatever embellishments you want to add. You can add little goodies in the pockets, such as tea bags, die cuts, or whatever else will fit in the pocket! The only requirement is that you have to add a letter into a pocket. Because these are, after all - pocket letters. Once you finish the page, you send it out to a snail mail pen pal, or for a one time swap with someone.

In-Progress Pocket Letter

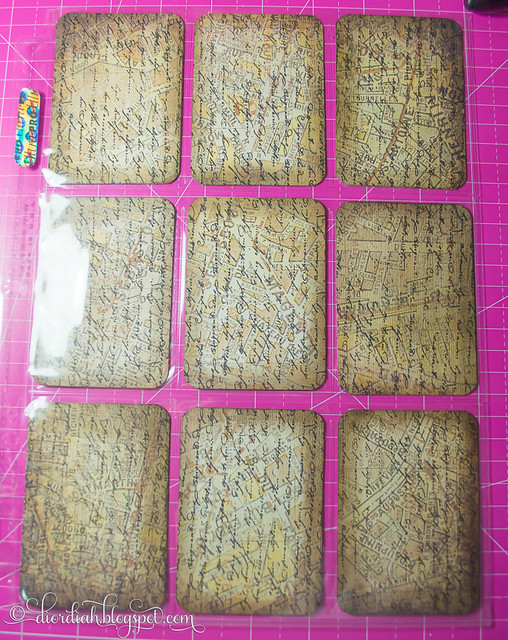
This is my first pocket letter, before I really embellished it. I had cut up my pieces of patterned cardstock, stamped each one with a really beautiful, large script stamp, and inked the edges with some Distress Ink.

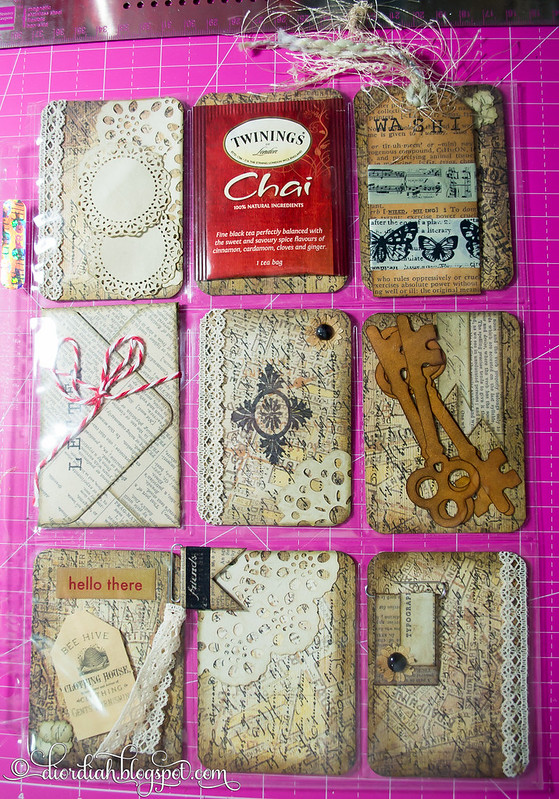
After I got all of that done, I really started to embellish it. I added a envelope using my Envelope Punch Board, some lace edgings, keys that I cut with my Silhouette and inked with Distress Ink, a small tag with washi tape samples, glued a couple of doilies (again, cut with my Silhouette and tea-dyed), and added a few embellished paper clips. It is so pretty, I can't get enough of them!

Finished Pocket Letter

This one hasn't yet found a home to be sent to. When I am ready to send it out, the awesome part of pocket letters is that they fold up into thirds, and fit brilliantly into a #10 envelope, for easy sending to your swap partner!

If you want to know more about Pocket Letters, there is a huge explanation of them, along with a video, an FAQ, and everything at the creator's blog. Also, if you start making them, definitely go and join the Pocket Letter Pals Network!
 
 
Blogger Templates