Social Icons

Monday, April 28, 2014

Dog Biscuits

With less than one month until Miss Amelia comes home, we've been starting the hoarding of puppy things! I'm really excited for our new golden retriever, so I want to buy ALL THE THINGS!

We've purchased her crate online (only $53, for an Intermediate size!), which arrived last week, I got a couple toys for her, and we have already got her food. I know it might be too early to buy food, but the food I've been wanting to get her went on a really fantastic sale for almost $20 cheaper for the 30lb bag. I wasn't about to pass that up. Hey, dry dog food usually sits at the store for months anyway, right? I made her a fleece bed, stuffed with pillows, as well. I've also went upstairs to talk to our weird, night-owl neighbor to warn her about the noise that crate training might bring. She didn't seem to care.

She's become my obsession, and the highlight of my week is when the breeder sends me updated pictures of her. I'll be going back home to California to visit family in a little over a week, and I've already scoped out the nearest pet stores there, too. I hope to bring some really special things back for her. My mother back home says there's a store that sells bully sticks for $1, so obviously, that's going to be the first store I'm going to hit... right after In-N-Out Burger, of course!

But anyway! My Pinterest boards are filled with all kings of DIY puppy bed, treats, and toys now. I wanted to give a recipe a try, knowing it's too early to start baking treats. My mother in California has a dog, and I wanted to try these treats out on her before I go crazy and start making batch after batch of them before Amelia comes home.

Keep in mind, as you read this, I don't cook, and I don't bake. This was actually the result of two previous failed batches of cookies. The first batch, I made too thick, and they turned out too soft and gummy. The second batch, I put too much water in. That batch ended up getting completely stuck to wax paper, and I got so frustrated that I tossed it out. This third and final batch, turned out perfect.

DIY Dog Treats - Ingredients

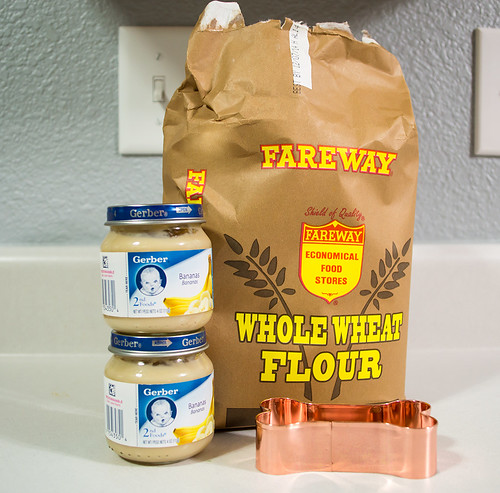
Here's my ingredients. I only used Fareway brand Whole Wheat Flour and banana baby food (don't use anything with onion or onion powder!). Which is awesome, because I love re-using baby food jars. The first time I went buying flour, I accidentally picked up white wheat flour. I don't even know what that was, so I went back and got the actual whole wheat. Oops. I picked Banana favored food, because this batch goes to my tester dog, who loves bananas. For Amelia, however, I think I'm going to try sweet potatoes.

  • 2 cups of whole wheat flour
  • 2 (4 ounce) jars of baby food
  • Dog bone cookie cutter

Let me tell you about this stupid dog bone cookie cutter. I searched... everywhere for this thing! I looked at Walmart, Petco, Petsmart, HyVee, Fareway for any kind of bone cookie cutter, and nothing. My last ditch effort was at the mall, where they have this little store called Kitchen Collections, before I ordered online. They not only had one, but three (!) kinds of them. I picked up a set of 3 different sizes, mainly so I can start with the medium size, and work up to the largest. Also, I didn't want to go hunting for them again. Like, ever.

DIY Dog Treats - Rolled Dough

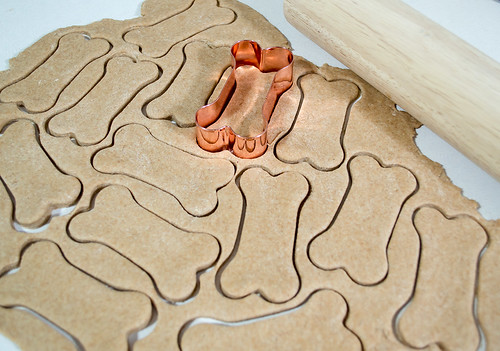
I mixed up the dough with my hands and rolled it out. After so many failed attempts, I was shocked at how perfect this batch of dough turned out. Both batches were sticky, but this one wasn't at all. I had no issues cutting out the dough and peeling them off the counter. Like I said, I'm no baker.

I'm not going to lie. I did not roll the dough out myself. I hate rolling dough out, so I called my husband in to roll it for me. There were times when I thought he was going to break my poor rolling pin, he was being such a brute with it. But, the dough looked good, and my rolling pin somehow survived. Win, I'd say.

DIY Dog Treats - Cookie Sheet

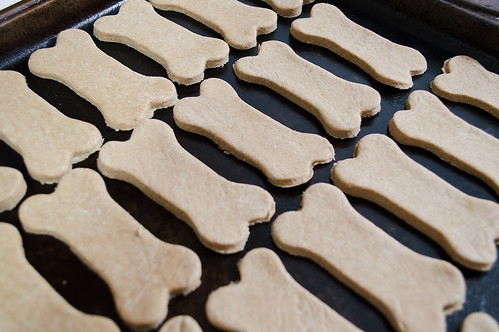
These were made about 1/4 inch thick. The first batch was made too thick, and I really did not feel like trying again, so OCD me, literally measured the thickness of each one with a ruler. Anything over 1/4 inch got re-rolled.

It was also suggested to use parchment paper on a baking sheet to cook them. I didn't have any. I sprayed the sheet with cooking spray, and them wiped all that I could off. Just to get a extremely thin layer of it.

DIY Dog Treats - Finished

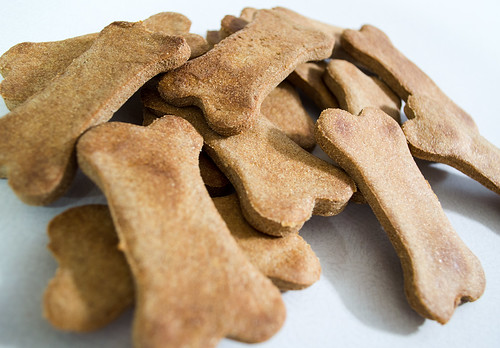
The link I followed from Pinterest suggested to cook them at 350 degrees for 20 minutes. However, mine were soft still at 20 minutes. I wanted mine crunchy. I kept mine in the over, checking on them every 5 minutes or so. I might have taken them out around 40 minutes.

My list of tips, for those willing to try this:
  • Might be a good idea to maybe puncture the tops of the biscuits with a fork before baking, so the air can vent through, and maybe not rise any? I might try this in my next batch.
  • They will get soft in an air tight container. I follow the original poster's advice, and keep them on a paper bag on the counter.
  • Don't make them over 1/4 inch. they won't get hard, and will remain soft and chewy (and might mold easier?)
  • Once I poured my baby food into the mixing bowl, I put just a few drops in the jar, closed the lid, shook the water around, and poured what's left in the bowl. Don't do more than just a few drops extra. The dough will be sticky. It will then stick to wax paper, and you'll have to toss it out. I know from experience.
  • If you have a Kitchen Collection store near you, go there first before running all over town looking for dog bone cookie cutters.
We will be going to the breeder's house this weekend to play with little Amelia this weekend, now that she's bigger... so be on the lookout for at least one more post about her before I leave for California next week!

Sunday, April 6, 2014

Amelia the Golden Retriever

I'm just going to start this post off with stating that I have always adored golden retrievers. At some point over the course of the past couple weeks, I decided I wanted to get a puppy. Of course, I was really wanting a golden retriever, because of my love for them. But couldn't find a breeder within a reasonable distance to me. On Thursday, I began my full-hearted search to find us a dog.

The back of my mind was still hoping for a golden though. My husband told me, "You better pick a dog that you really want, because you can't trade them in." And that kind of hit home with me. I kept looking on Petfinder, trying to find a rescue dog that appealed to me. I was struggling, and feeling heartbroken.

Next, I checked our local Craigslist. There was a posting for Golden Retriever Puppies, that had been posted 30 minutes prior. One glance at the picture, I was hooked. I immediately texted the owner, for additional information.

We set up a date for us to come pick one out. We drove the 30 minutes to visit them on Saturday, and it was instant love for me. We got to visit the mother, who was calm, relaxed, and quite happy looking. We held up the pups, got tips from the breeder of what to look for in a puppy, but in the end, I had to go with my gut, which one really called to me.

amelia-better

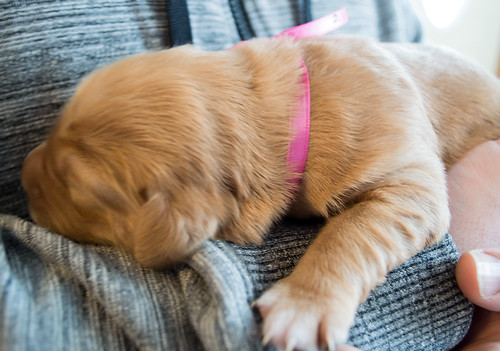
She was the first one I picked up, and her little white paws are what sold me on her. They explained to me what the white paws would look like on her once she gets older, because her mother had the same. We chose her, with her adorable little pudgy face.

amelia-01

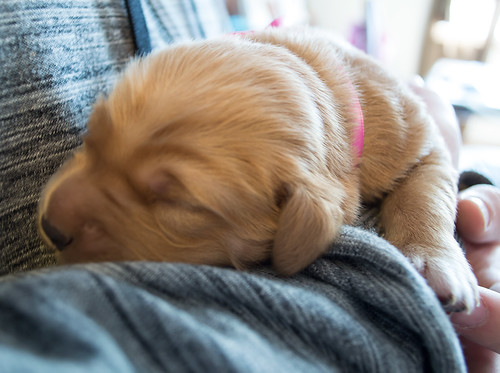
She was 8 days old when we went to see her. I kept talking to her, even though they kept telling me she couldn't hear or see me. I was amused though. I've never really seen golden retriever puppies, so honestly, I didn't know what I was supposed to be looking for.

amelia-face

Tyler held her while I took my pictures and filled out the paperwork, she just slept and didn't even seem to care where she was (granted, she couldn't see what was going on, I'm sure). But it was cute.

I have asked for weekly status pictures of our little Amelia growing up, which they agreed to do. And, they suggested that we should also come by when she is about 6 weeks old, because that's when we would start to see her coloring, and she will be much more active (obviously).

She'll come with AKC paperwork, vaccinations, and even a little collar. I'm so excited for our puppy! We won't be able to bring her home until May 24th, which works out well for us, really. I'll be going back to California for a couple weeks, and won't be back until May 20th. Also, it will give us plenty of time to purchase alot of the puppy things we will need. The prices at our local pet stores are way extreme, and me being a bargain hunter, I will probably be ordering quite a bit of things online. I should have plenty of time for them to be shipped, I think.

Tuesday, April 1, 2014

DIY Face Moisturizer

Yes, I am back with yet, another natural DIY skincare! Before, I blogged about my Green Tea Toner, then again about my Spice Honey Mask. Now, I have my own Facial Moisturizer using only coconut oil, and vitamin E oil.

First, I went shopping for coconut oil, not realizing that there was 2 different kinds of coconut oil. There was unrefined (which was almost twice the cost), and a refined. I stood in the isle, Googling on my phone what the difference was.

I concluded that the unrefined was unbleached, has more benefits when cooked, and had more of a coconut smell. however, this was going on my face, and I don't really mind if it's bleached, or smelled like coconut, and I wasn't going to eat it. So I got the cheaper, refined one.

When I was checking out, the cashier mentioned that his daughter makes bread with it. I informed him, proudly, that it was going on my face instead. He looked, baffled, at the woman in line behind me, who then chimed in and said she uses coconut oil on her face too. Woo! I'm not the only crazy person!

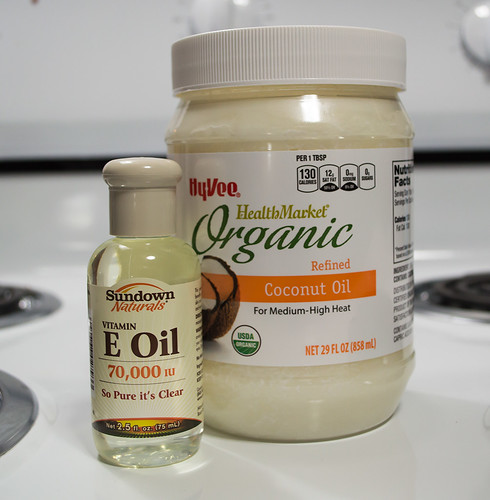
I was going to use use the coconut oil by itself, but once I got home and opened the jar... there was no way this was going to be creamy enough for applying, by any stretch of the imagination. So, after Pinteresting, I found this blog post. I definitely used her recipe as a guide, which seemed so much better than the idea I started out with in my head

moisturizer-ingredients

However, I didn't want to make very much. Since my teenage years, I've been told that I have oily skin, and I should never use oil on my face. Well, this is two different kinds of straight oil. It made me nervous, and I don't want to go making this large batch of face moisturizer that I'm not going to like. So, I started off small.

My mixture was as follows:
  • 1/2 cup of coconut oil
  • 1 Teaspoon of vitamin E

Even with that amount, I was still terrified that I was making too much. But I went on.

moisturizer-mixed

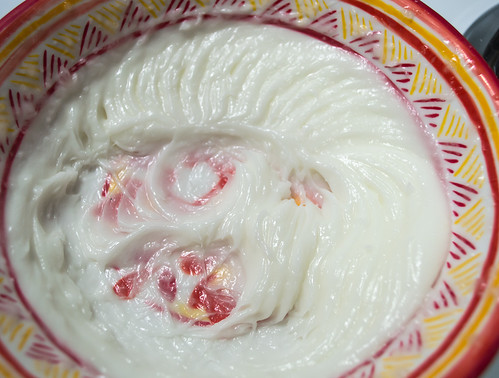
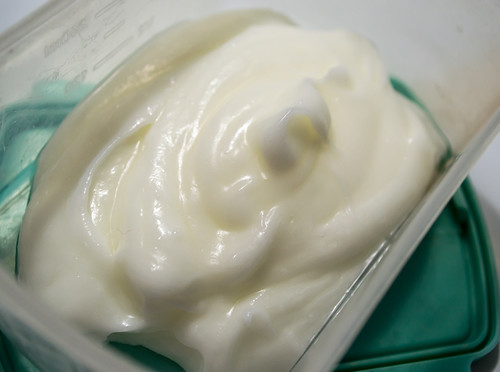
I don't have a stand mixer, or anything, so I used my hand mixer. I mixed it for a total of 7 minutes. And that's what I ended up with. It's got a lotion-like consistency, until touched. Once touched, it turns into oil.

moisturizer-done

I spooned it into a container, as my end result. It turned out really nice, actually a lot like face lotion. I would like to eventually put this in a baby food container of some kind, I think that size of that container would be the perfect amount to make at a time, and be small enough to keep in the bathroom.

I used it the next day, and have learned a few things since.
  • I refrigerated it right away. I keep the apartment rather cool in the winter, our thermostat is usually around 70 degrees. Not a good idea. When I wanted to use it, it was hard and still difficult to get out of the container. I will leave this out in the bathroom, until it gets hotter outside, then I'll probably refrigerate it.
  • First time I used it, I used waaay too much. My face felt like an oil slick for the majority of the day. It was gross and I kept wiping my face all day long to get some off. Since then, I only just use a TINY bit. I mean.... tiny. It works out so much better. After applying, my face feels oily for about 5 or 10 minutes, while it absorbs, but after that, it feels better on the face.
  • I feel like it is super-important to wash my face before applying this and before going to bed. I don't also suggest to use this at night, because it will get on your sheets and pillowcase. Also, night time is when your face replenishes itself, so adding cream or treatment at night, I don't think is a good idea. (At least for my face.)
  • For me, I found that I probably shouldn't try to re-apply during the day. At one point a few days ago, my face felt a little dry about mid-day, so I added just a tiny bit more on my face. Afterward, I had the same issue as when I applied too much. Note to self: Once a day is good.

I've only been using it for a little while, so I haven't really seen any drastic results, but my face definitely feels more moisturized, and I haven't had any new pimples pop up since I have been using my DIY skincare routine.
 
 
Blogger Templates