
I have tried practically every product on the market, from Neutrogena, Clinique, Proactiv. Different kinds of toners, creams, cleansers and moisturizers. Nothing seems to work. So, now I am at the point where, I am thinking I need to re-evaluate what I am putting on my face.
That being said, I have decided to stop putting chemicals on my face, and try going natural with my acne solutions. I did research of what things are good for your face, and have come up with a toner, that I whipped up a couple nights ago.
This is just my solution, one that I am trying right now. Keep in mind, as you read this, it is still a new-to-my-face recipe that I'm working on.
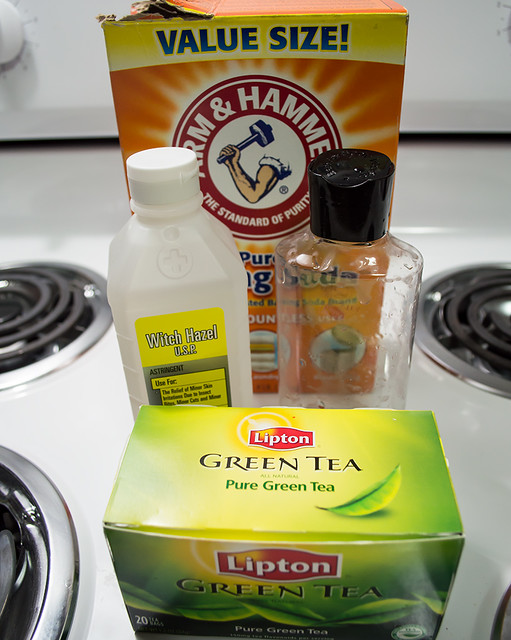
These are my current ingredients for my toner. I use about a teaspoon of baking soda, because I hear it is good for the face (and frankly, I put baking soda in everything now). Witch hazel, from my research, is a plant extract, this is a good astringent, and will cleanse the pores out pretty well and has anti-oxidants. And, green tea, for calming my sad, irritated skin (which also has anti-oxidants, as well). Also, I have a bottle to put it all in. All I had was my husband's body wash container, that was promptly cleaned out well.
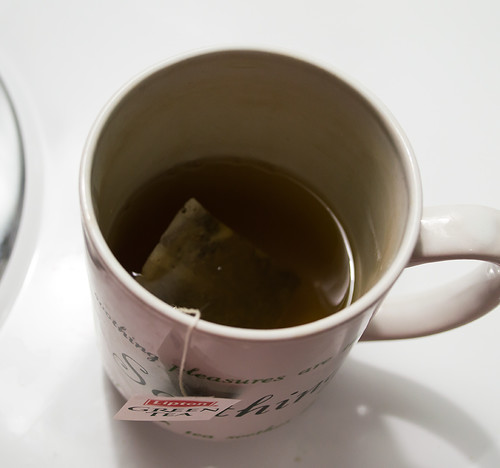
First step was brewing the tea. I just brewed my green tea as normal, as if I was going to drink it. Don't mind my stained, Dollar Tree mug. It's very well used.
So, the amount of ingredients I used:
- 1/2 cup of Witch Hazel
- 1/2 cup of brewed green tea
- 1 teaspoon of baking soda
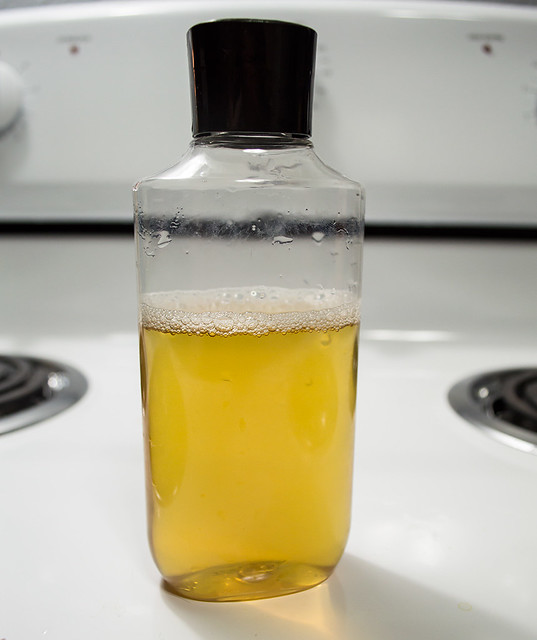
I poured my ingredients into the container and shook it up pretty well to dissolve the baking soda and mix everything together. This container should be kept in the refrigerator, and will be good for up to 2 weeks.
I've been using it for a couple days now. I've ditched my old facial cleanser, and toner, and am now using RAW honey to cleanse my face (I rub it on and let it set for a half hour), then follow by applying the toner to my face with a cotton ball.
It's so far, surprisingly going well! It's boggling to me that my face can actually feel clean, without squeaking. Literally, the things I have been using, strips my face of so much oil that my face is squeaky. But this, my face feels moisturized, yet clean. And it feels great. The better news is that: I haven't noticed any new breakouts since I've been using it, and my face is definitely appearing less red. Which is awesome.
A few notes, mainly for myself:
- I read that using unfiltered apple cider vinegar works well, in place of the witch hazel. (Though, for me, I was very nervous to spend $7 on it when I wasn't sure how well this DIY would turn out in the first place). If this works well for me, I will likely spend the extra money and purchase the organic apple cider vinegar. the witch hazel was a little more do-able because it was only about $1.50.
- For acne, a couple drops of tea tree oil is supposed to do really well in a toner. I fully intend to purchase some and try that out in my toner as well.
- Once this is taken out of the refrigerator for use, it needs a little shaking up to re-mix everything, I have noticed.
Hopefully, my face will look fabulous by the time I go back home to California for a couple of weeks in May!

No comments:
Post a Comment